Are you looking to spruce up your garden or living room with some DIY painted rocks? Look no further, this blog post has got you covered! Painting rocks is not only a fun activity, but it also offers a great way to express your creativity. With a rock painting kit, you can let your imagination run wild and create stunning designs. In this post, we’ll share ten tips that will help you create the best DIY painted rocks with a rock painting kit.
Choose the Right Rocks: The first step in creating the best DIY painted rocks is to choose the right rocks. Look for rocks that have a smooth surface and are free of cracks or chips. In addition, try to select rocks that are similar in size and shape.
Wash and Dry the Rocks: Before you start painting, ensure that you wash the rocks with soap and water to remove any dirt or debris. Allow them to dry completely before painting.
Use a Base Coat: Applying a base coat of paint can help bring out the colors and prevent the rocks from absorbing too much of the paint. Use a light color of your choice as a base coat and allow it to dry completely.
Plan the Design: You can use stencils or sketch the design on paper before you start painting it on the rock. This will help ensure that you have a clear idea of what you’re going to paint on the rock.
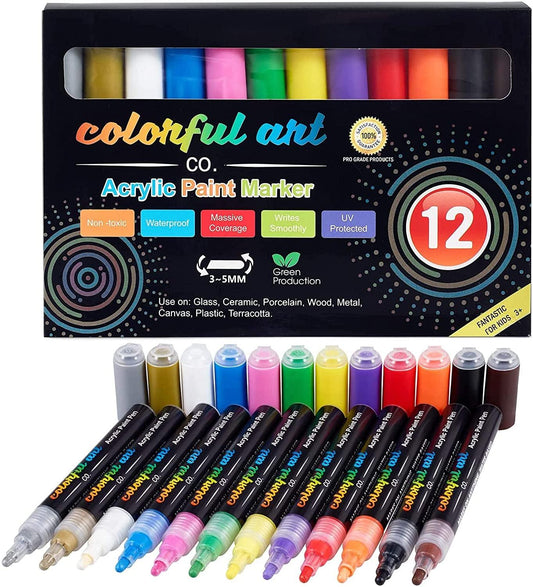
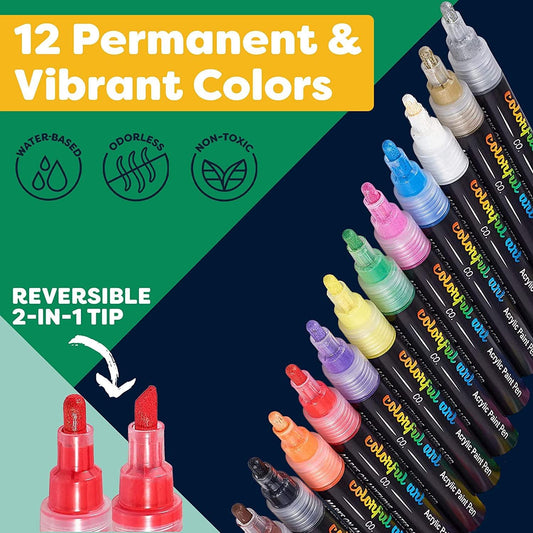
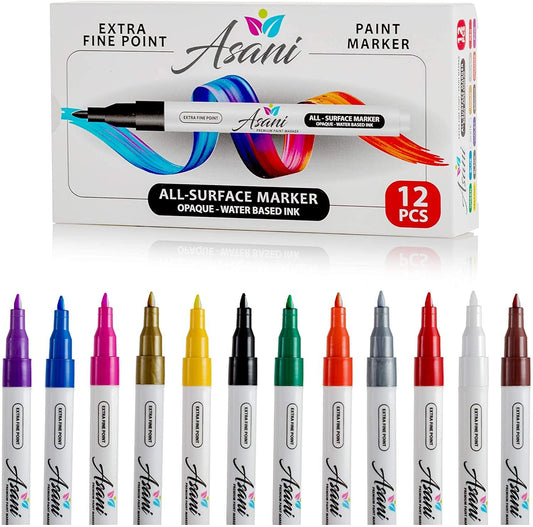
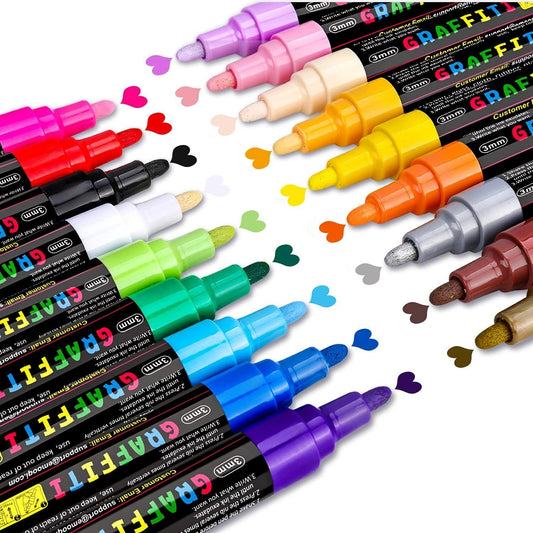
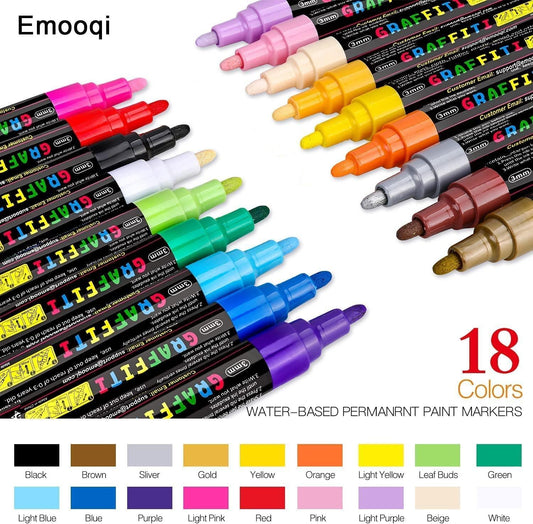
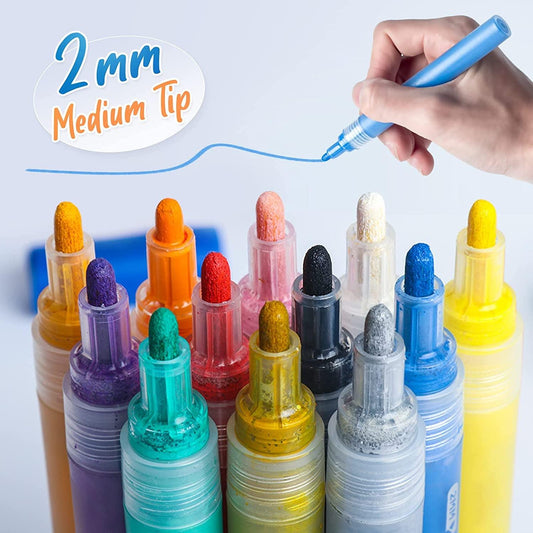
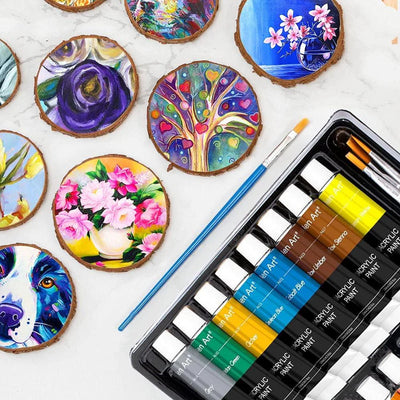
Use High-Quality Paint: Invest in high-quality acrylic paint that won’t flake or chip off after drying. It is also recommended to use paint markers for precision detailing.
Let the Paint Dry Completely: Allow the paint to dry completely before adding layers or details to avoid smudging. It is essential to stay patient during the drying process to get the best final results.
Seal the Paint: Once you have finished painting, it is essential to seal your painted rocks with Mod Podge or a clear sealant. This will ensure your design stays in place and doesn’t fade away.
Add Details: Once the base coat has dried, you can add layers and details to make your rock design pop. Try adding tiny dots, lines, or shading to create depth and dimension.
Be Creative: Let your imagination run wild and experiment with different colors, patterns, and designs. You can also add elements like glitter or pebbles to make your painted rock unique.
Show Off Your Creation: Once you have finished painting, display your DIY painted rocks in your living space or garden. They make great conversation pieces and will show off your artistic side.
Creating the best DIY painted rocks with a rock painting kit can be a fun and fulfilling activity. By following these ten tips, you can create stunning designs that express your creativity and brighten up any space. Remember, choosing the right rocks, washing and drying them, using a base coat and high-quality paint, planning the design, letting the paint dry completely, sealing the paint, adding details, being creative, and showing off your creation are the keys to success. Happy painting!


